Non-contact 3D scanning can detect warpage.
Non-contact 3D scanning provides the benefit of full 3D data.
Non-contact 3D scanning captures millions of points (xyz coordinates) in seconds, fully defining the shape and size of objects. The data can then be measured more accurately than a physical part can be.
Because non-contact 3D scanning captures an entire part at once, there is no chance of missing areas and then having to go back to redo them.
Non-contact 3D scanning greatly reduces the amount of human error that is possible, especially compared to caliper measurement.
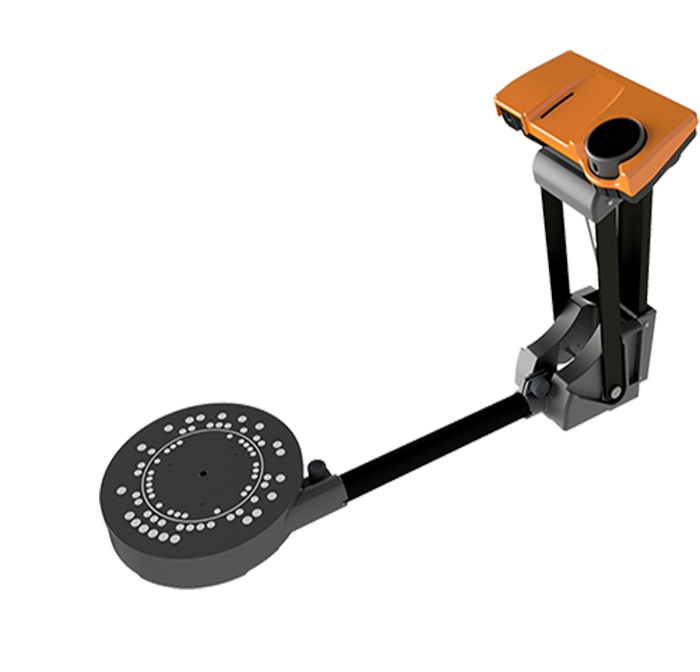
CMM / Calipers - The SOL Table has a calibration points on the wheel (as shown below):

CMM outputs data in the form of a finite number of points (xyz coordinates), many of which have been manually taken.
Calipers provide only a measure of distance dependant on the accuracy of the position and person taking the measurement.
CMM’s and calipers do not capture an entire part at once. This brings in the element of human error when measuring a part.
Since CMM’s cannot detect warpage in an object, they are subject to misreadings.
Human error is a large factor, especially for caliper measurement.
Additional advantages of non-contact 3D scanning are that it removes the element of probe compensation error and is much faster on curved, free-form shapes. Unless you are measuring a box or an object with very prismatic features, 3D scanning provides a huge time savings advantage.
