Merging 3D scans, appending 3D scans
A scanning pass is a scanning done with the object placed in one orientation.
SOL PRO 3D Creator software allows you to append, or merge, multiple scanning passes into a single 3D model.
How many scanning passes?
SOL PRO Creator can mesh up to five scanning passes, but you only need to make just as many scanning passes necessary to cover the entire object’s surface once.
For some purposes, one scanning pass of an object is fine.
But for the majority of objects, you would typically need at least two scanning passes, so that the part of your object that was facing down in the first scanning pass is also scanned.
How does the software add scanning passes?
The scanning passes are automatically combined in SOL PRO Creator.
The advanced software automatically aligns the multiple scanning passes into one model.
It also removes any unwanted artifacts from every single scanning pass, so the final model highly resembles the object that you chose to scan. And nothing else.
How to add scanning passes
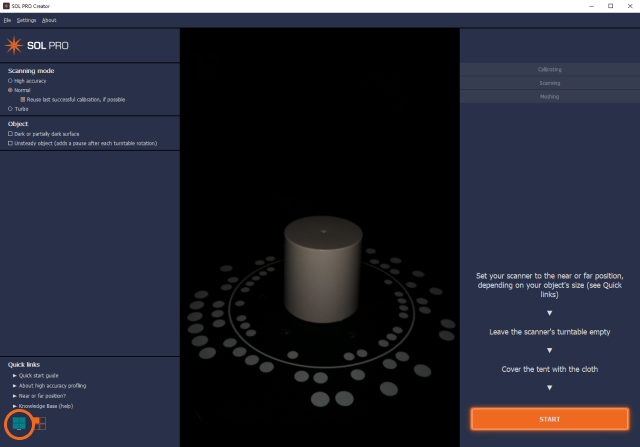
1. Open SOL PRO Creator
2. Access your existing model via the Collection icon the left bottom corner:
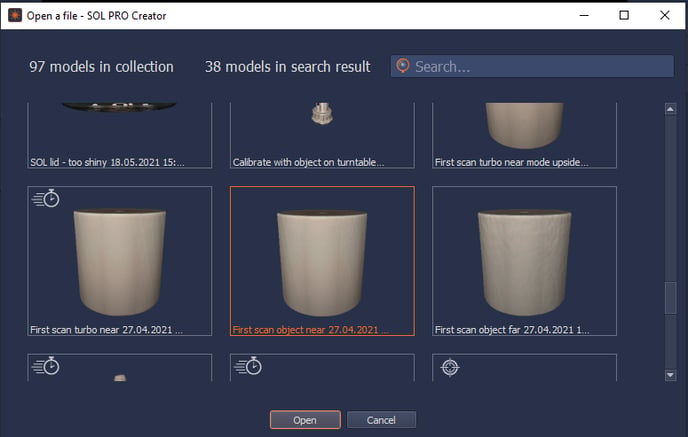
3. Find the 3D model that you wish to add more scanning passes to.
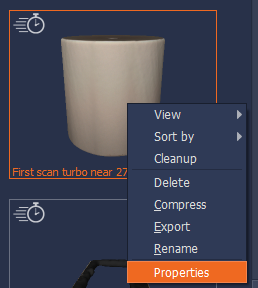
4. Right-click the thumbnail and check the properties to see which scan settings are used and make sure to use the same settings for the added scanning passes:
Right click for Properties:
Check the original scanning mode and make sure to use the same for the added scanning passes:
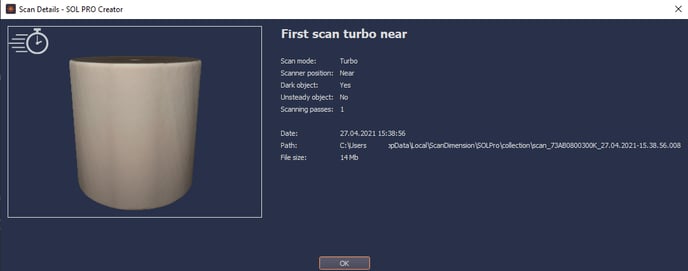
5. Click ok, and from here on it is a normal scanning procedure starting with calibration.
Still, need help?
Most of the questions can be found in our Knowledge Base: Look up questions
Did you buy SOL PRO and looking on getting started? Quick Start Guide