The optimize alignment feature is especially useful for scanning symmetrical objects.
It lets you help the software choose the alignment of the scanning passes before meshing.
Here is a step-by-step guide on how to use the feature:
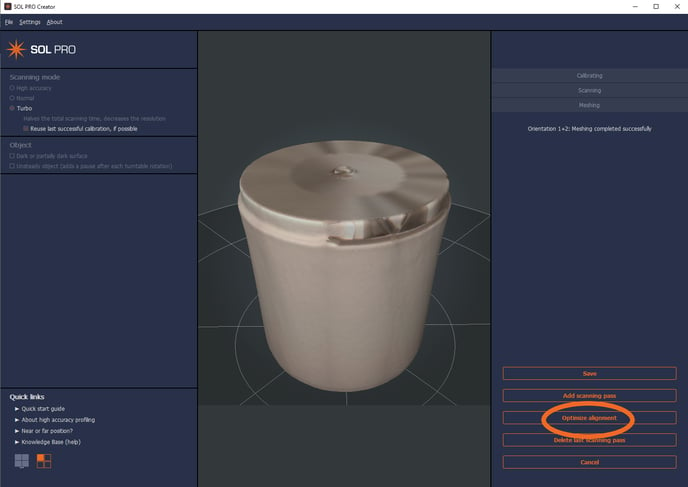
1. After scanning 2 or more scanning passes and meshing your model choose to Optimize alignment
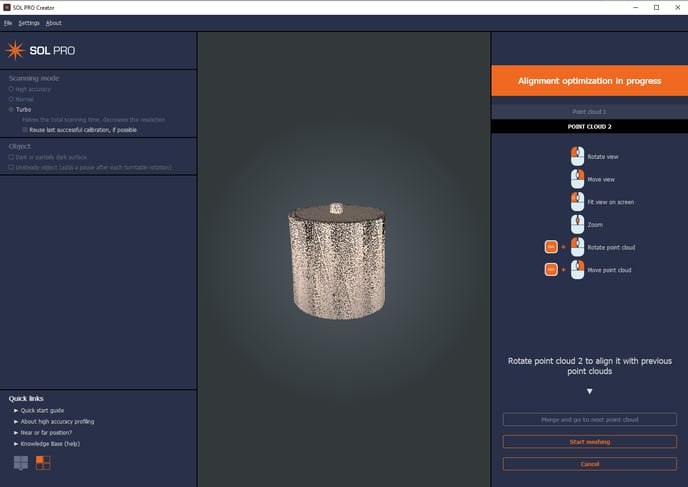
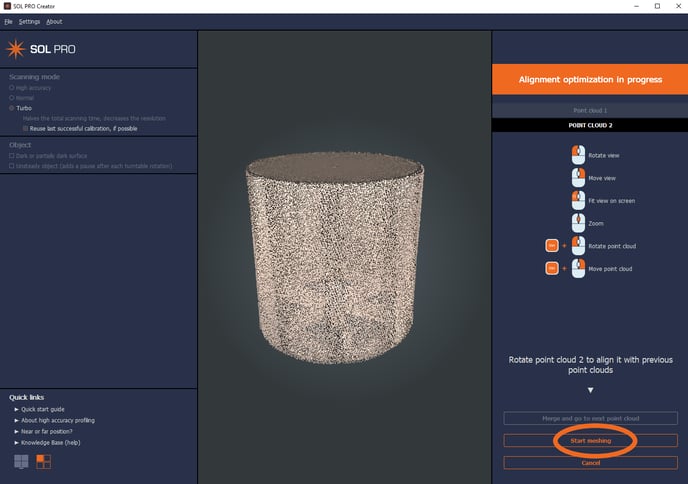
2. You will get to this screen where the controls are described in the right side. You wil only be asked to align two scanning passes at the time, if you have a third or more this will be added one at the time afterwards.
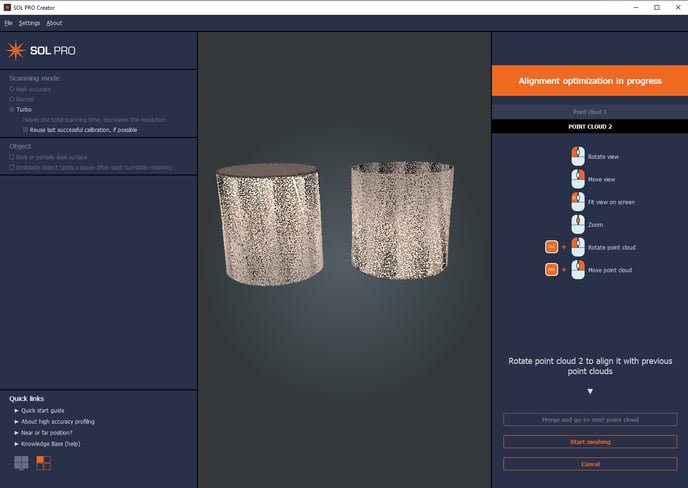
3. A good tip is to start out with placing the objects next to each other for better visibility before rotating.
When you have rotated them to the right direction it's easy to just move one model on top of the other with the right mouse button. Make sure to check the alignment from different angles.
4. When you are done aligning the two passes you can click Start meshing
5. Your finished scan should now be ready after meshing