Experimental Mode / Advanced Options
Were you looking for SOL PRO high accuracy scanning? Click here
CAUTION - Using SOL Advanced Mode is a detailed and complex mode used in the SOL software. Most customers will never have a need to use this feature.
Step 1
Within the SOL Application upon opening, before clicking the "Scan button".
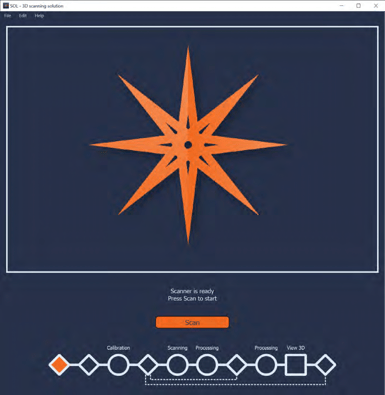
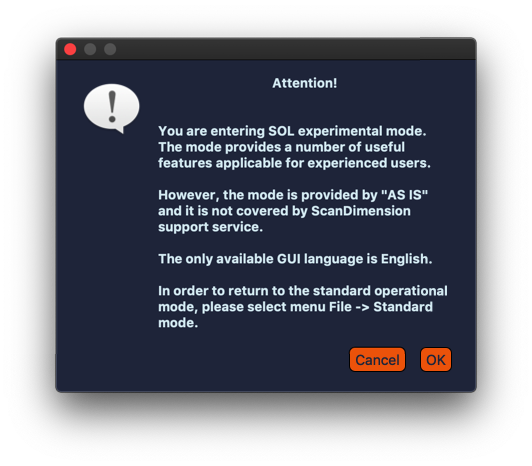
Select ‘CTRL+SHIFT+X on your keyboard and hold for 5-10 seconds.
Step 2
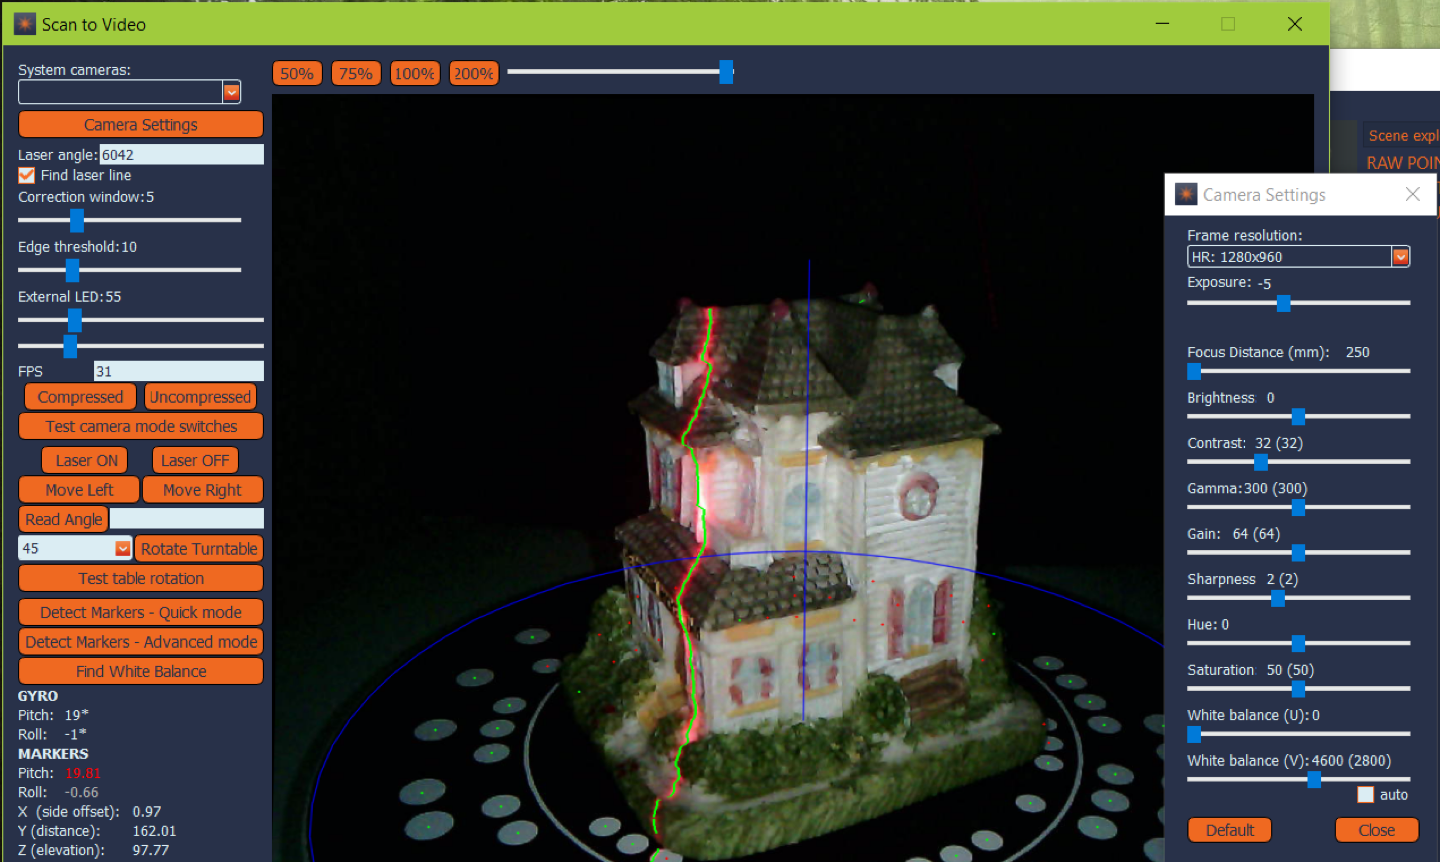
After entering the advanced mode. From the Workflow menu, start the 'Scan to Video' and set the scanning head in such a way, so that the object and most of the turntable is visible to the camera.
Step 3
Now we would need to detect the turntable by clicking 'Detect Markers – Quick mode'. If it fails, try temporarily increasing the LED brightness.
Step 4
Next, you might set the LEDs to about 50-55.
Step 5
Proceed by turning 'Find Laser Line' checkbox on, press 'Laser ON' and adjust the position of the laser using the ‘Move Left’ and ‘Move Right’ buttons, until the laser line is clearly visible and detectable on the object.
Step 6
Open ‘Camera Settings’ and adjust the Exposure if necessary. In our sample -5 worked the best.
Step 7
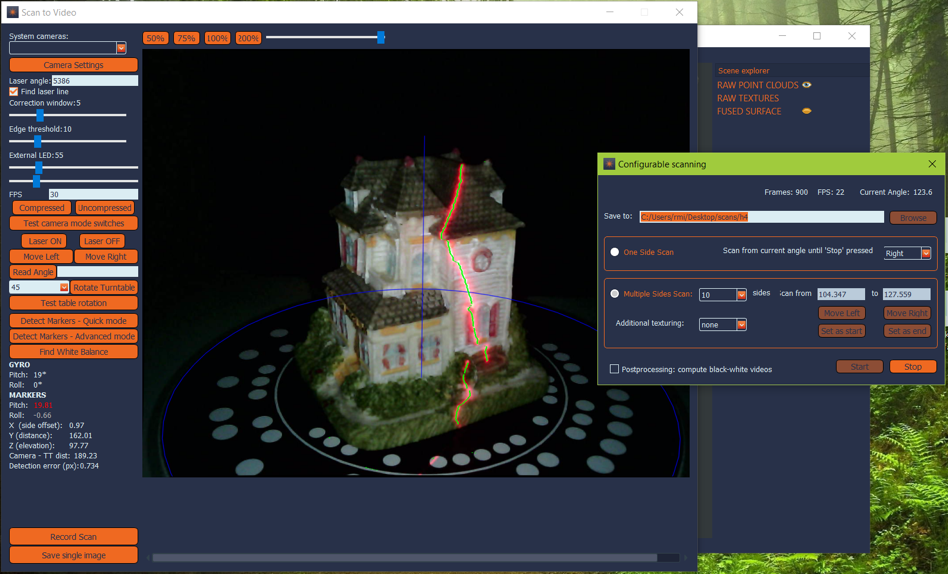
Once all the settings are set, press 'Record Scan'. Move the laser line left and 'set as start', then move to the right and 'set as end'. Click 'Browse' to select the folder, where the recording will be saved. Hit 'Start' and sit back.
Step 8
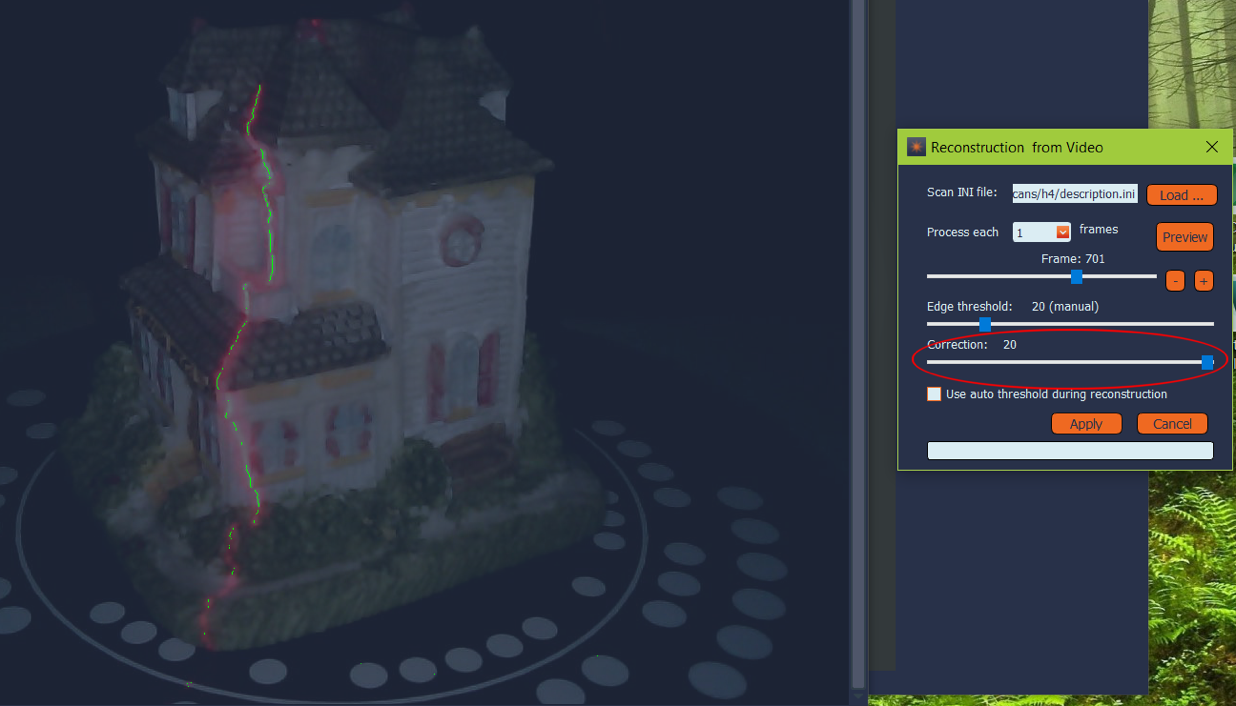
After the scan is complete, you can run 'Reconstruct from Video' (if applicable). In this example, we have placed a bug to see how it gets fixed.
Which is adjusting the ‘correction’ slider does not seem to have any effect.
Step 9
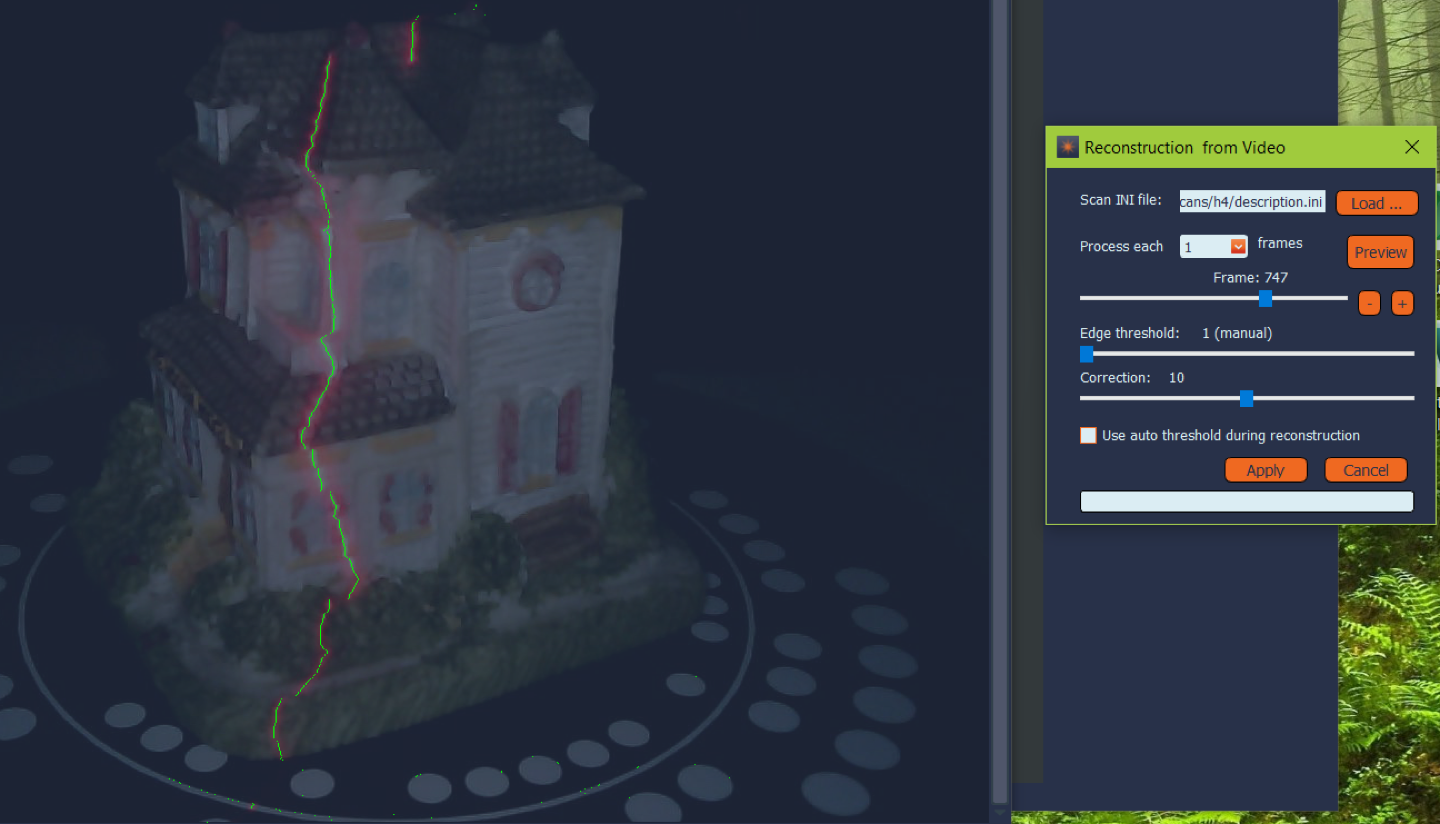
When we adjust the ‘Edge threshold’ slide, the line seems to be accurate with the minimal value of 1.
Step 10
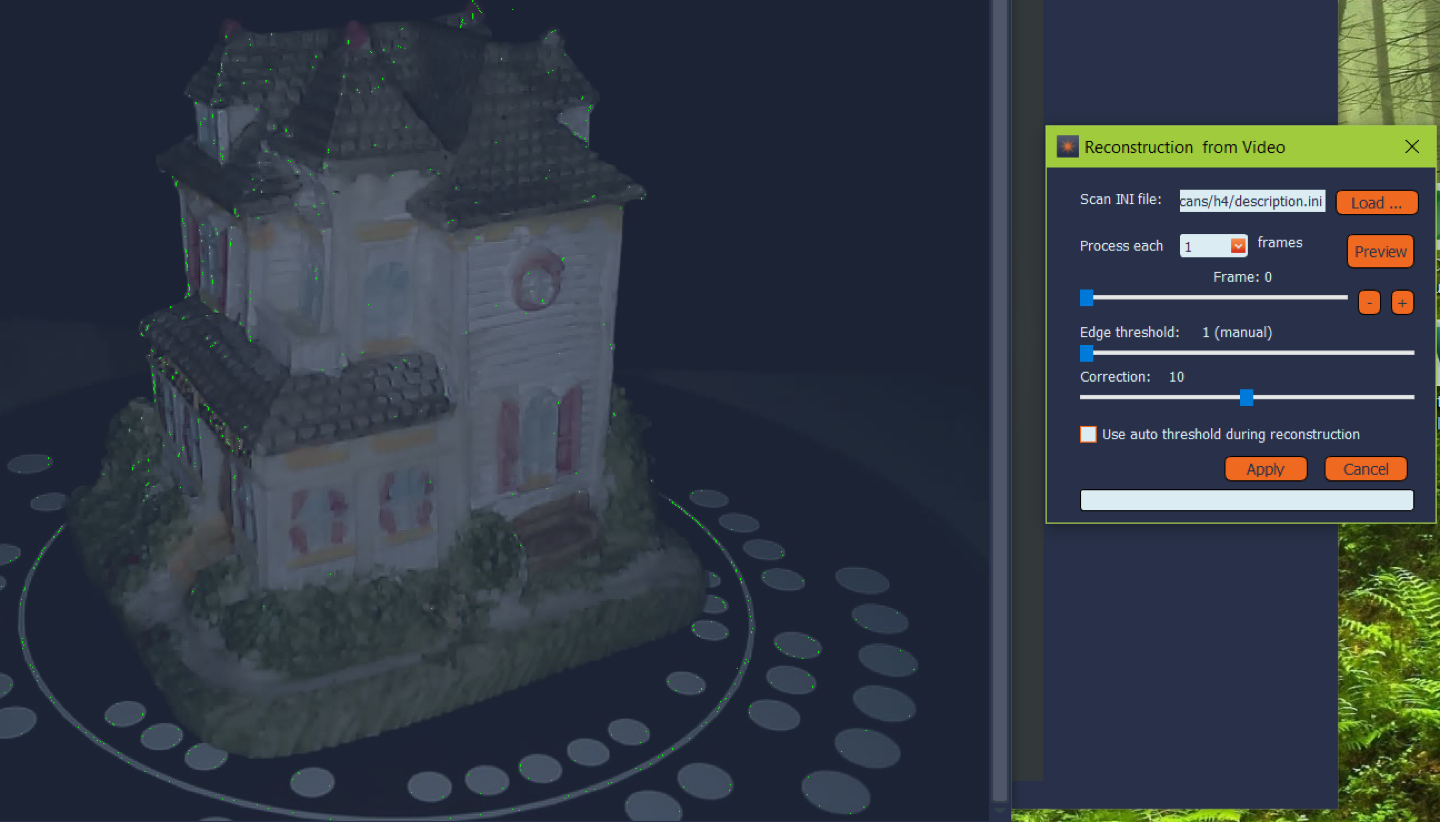
Unless we look at how it appears in a frame, where the line is not visible. It seems that the software tries desperately to find the line and ends up with lots of noise instead. This bug certainly needs to be looked at.
Step 11
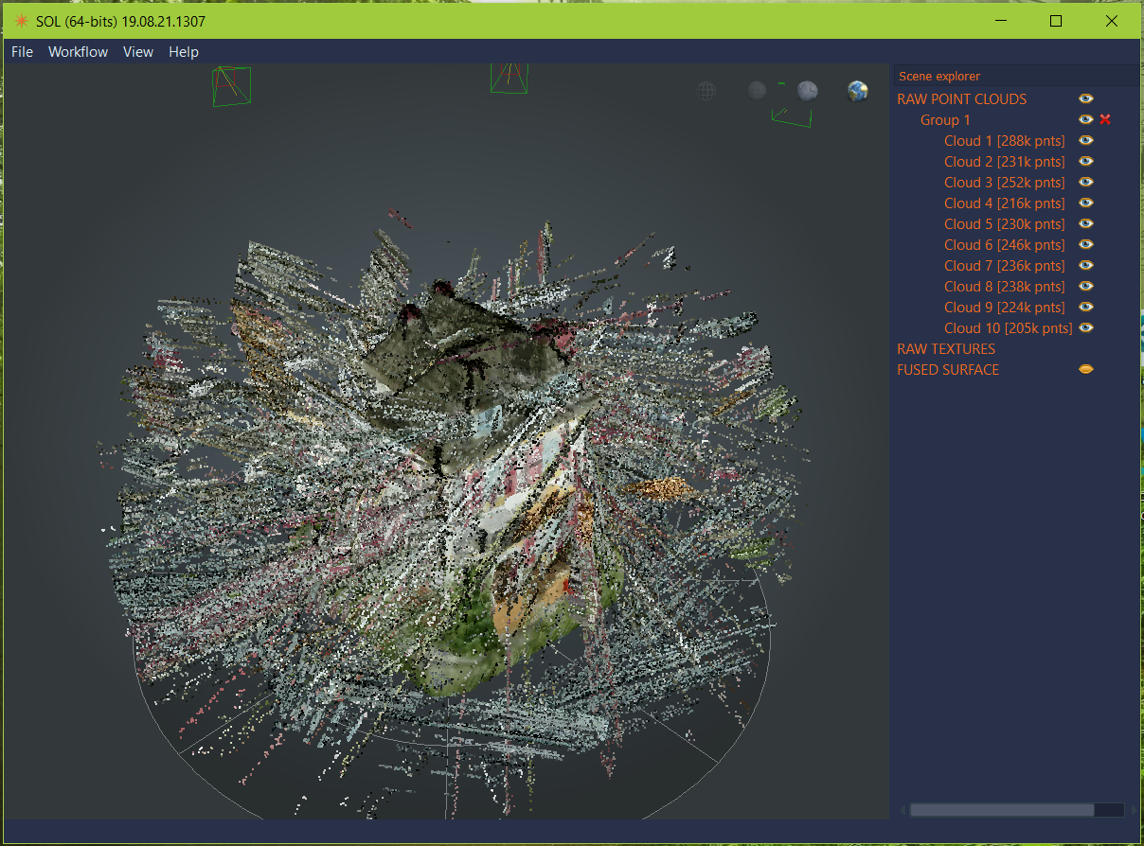
The mentioned above noise turned into a reconstruction with unacceptable artifacts.
Step 12
After raising the threshold to 20, the results are more accurate.
Step 13
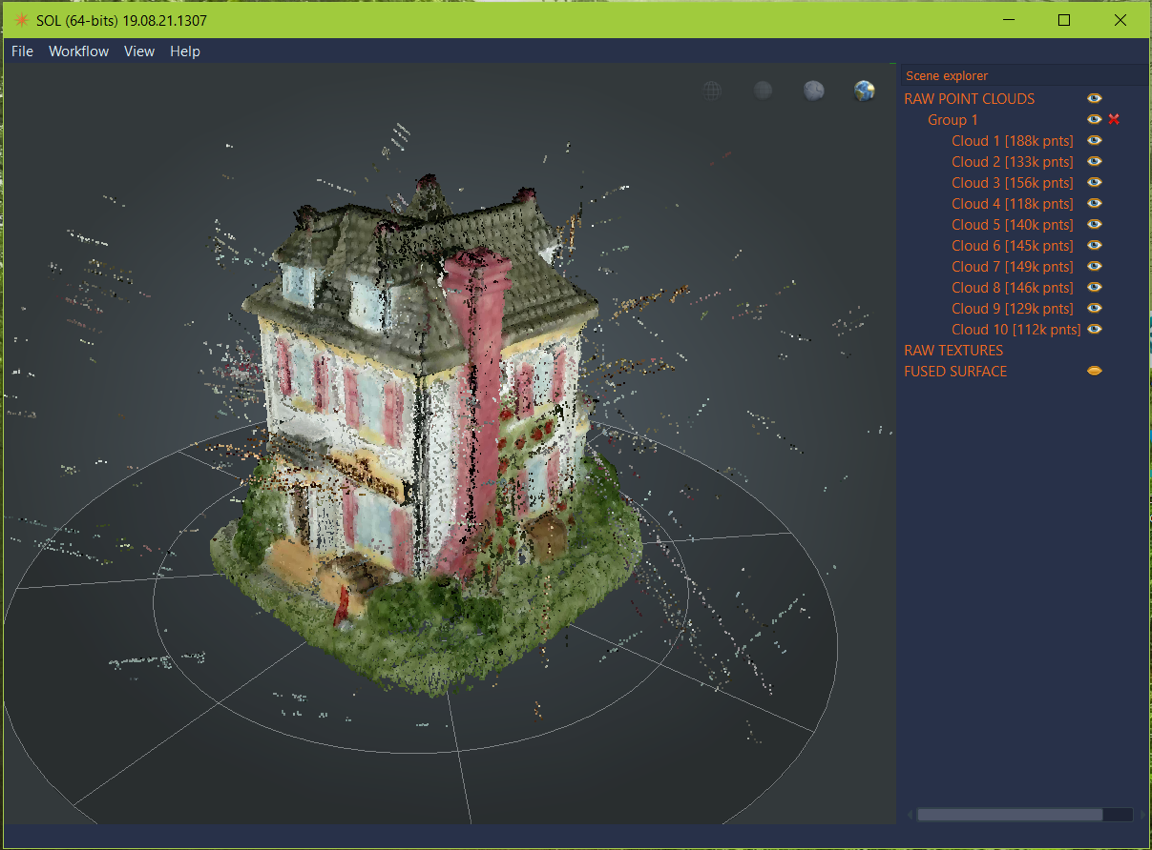
After applying 'Cloud Alignment' and the 'Mesh reconstruction', the results are more acceptable.
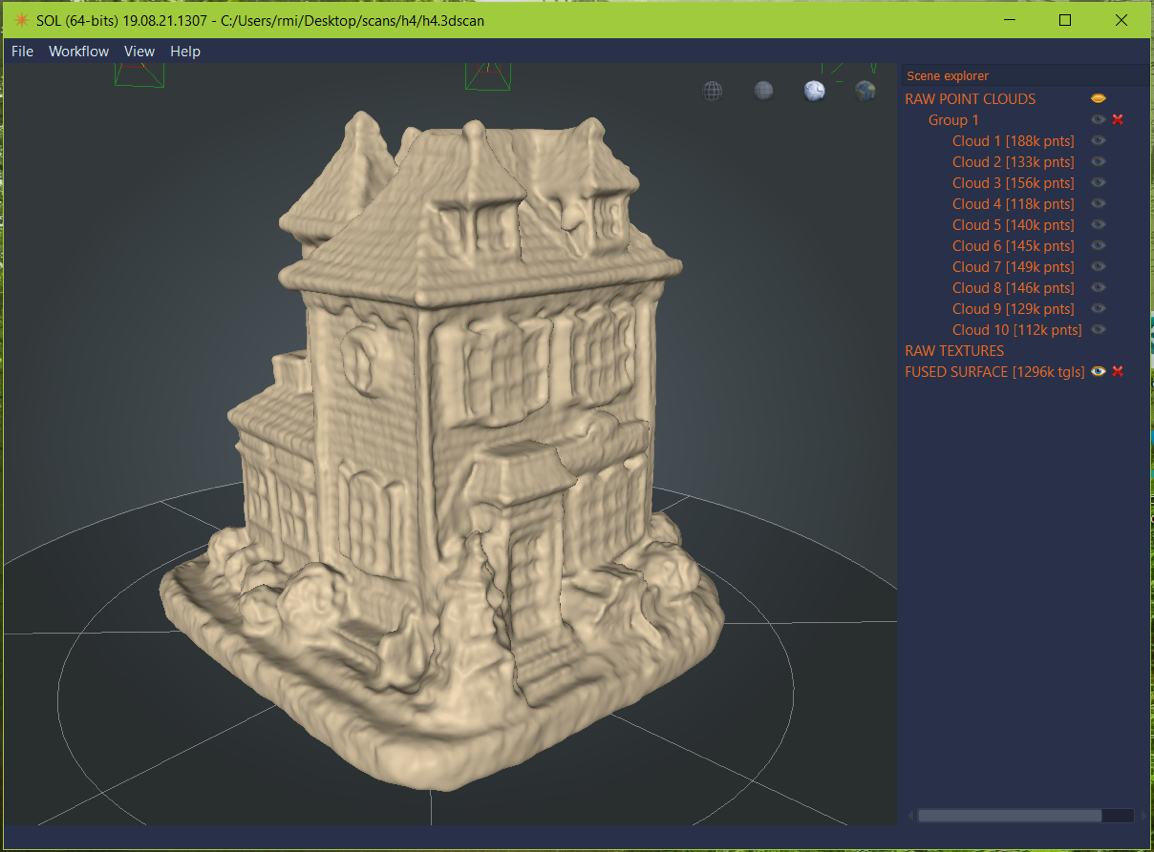
Step 14
Conclusion – The above test had found two major bugs:
- 'Correction' slider in the Reconstruction dialogue does not seem to work.
- 'Edge threshold' works in a weird way - when the setting is low, yet not line is present in the frame, the algorithm will increase its sensitivity and will interpret random noise, as if it is the line, therefor generating lots of artifacts.
This issue can be minimized by raising the detection threshold level.
Step 15
In order to return to the standard operational mode, click on the File Menu, Standard Mode.